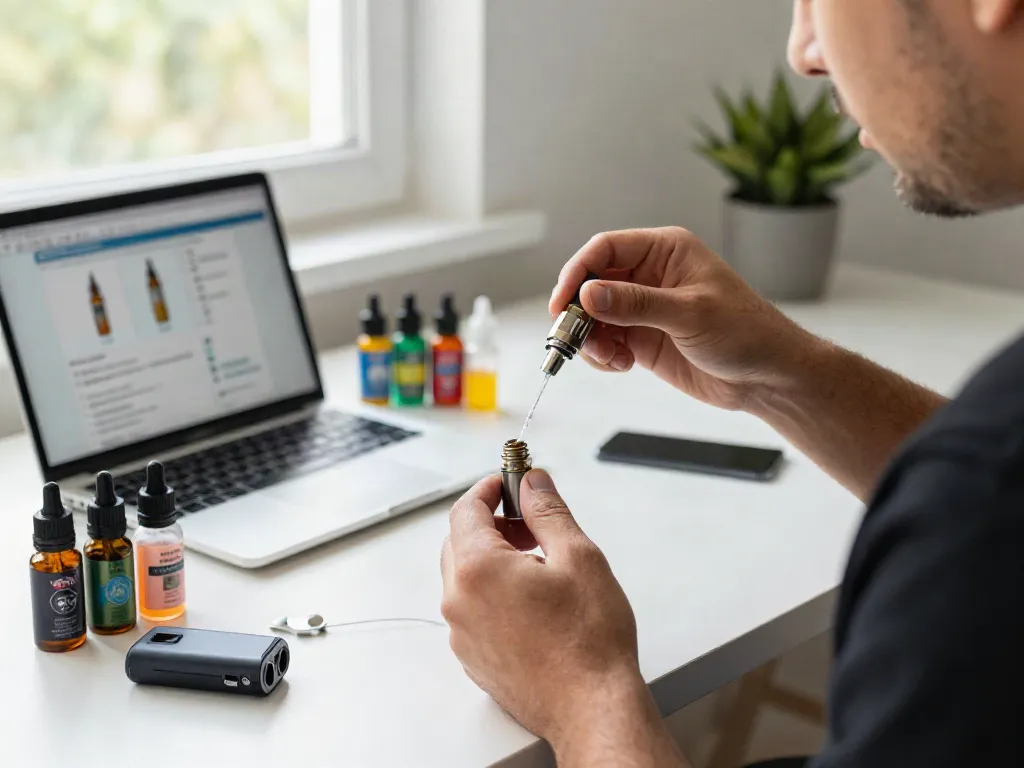
Understanding the Importance of Priming Your Vape Coil
When it comes to vaping, properly priming your coil is a crucial step that can significantly enhance your experience. Priming refers to the process of saturating the cotton wick in the coil with e-liquid before use, ensuring that it can adequately absorb and vaporise the liquid. This practice not only prevents dry hits but also promotes flavour and prolongs the life of the coil. For those looking to master the essentials of vaping, understanding how to prime a vape coil is fundamental.
What Happens When You Don't Prime?
Failing to prime your vape coil can lead to several adverse effects. The most immediate issue is experiencing dry hits, which occur when the coil is not saturated properly. This not only produces an unpleasant burnt taste but can also damage the coil over time. Moreover, a dry coil may lead to overheating, which can further compromise the quality of the vape and flavour. Not priming your coil is akin to trying to drink from a straw that’s not immersed in liquid; the experience will be neither enjoyable nor satisfying.
Key Benefits of Proper Coil Priming
- Enhanced Flavour: A well-primed coil ensures that the cotton wick is saturated, allowing for rich flavour extraction from the e-liquid.
- Increased Coil Longevity: Properly priming your coil helps prevent overheating and burning, extending the life of your coil.
- Improved Vapor Production: Saturated coils vaporise e-liquid more efficiently, resulting in denser clouds.
- Better Overall Experience: Taking the time to prime your coil sets the foundation for a pleasurable vaping experience.
Common Mistakes and Misconceptions
Many vapers, especially beginners, often misconceive the importance of priming. Some may believe that filling the tank alone is sufficient, while others might rush the priming process. A common mistake is over-soaking the wick, which can lead to flooding. Understanding the balance of e-liquid absorption and allowing adequate time for the coil to soak is vital.
Essential Tools and Materials for Priming
Before delving into the steps for priming, it is essential to gather the right tools and materials. Having everything at hand can streamline the process, making it easier and more efficient.
Choosing the Right E-Liquid for Your Coil
The choice of e-liquid significantly impacts the performance of your coil. High VG (Vegetable Glycerin) liquids tend to produce larger clouds but may not absorb as quickly as high PG (Propylene Glycol) liquids, which are thinner and absorb more effectively. When selecting e-liquid, consider your device’s compatibility and your desired vaping style.
Tools Needed for Effective Priming
- E-Liquid: Ensure you have your preferred e-liquid ready.
- Coil Tool: Some manufacturers provide coil tools which help in the installation process.
- Paper Towels: Useful for cleaning up any excess e-liquid and for adjusting wicking material.
- Scissors: In cases where you need to trim any cotton or wicks.
Preparing Your Workspace for Safe Practice
Always work in a clean space to avoid contamination. Keeping your area organised will help you locate your tools easily and prevent any spills that could result from a cluttered workspace. Additionally, having protective gear such as gloves can prevent your skin from direct contact with e-liquids, which may be irritating.
Step-by-Step Guide on How to Prime a Vape Coil
Now that you have your tools and workspace ready, let’s go through the step-by-step process of priming your vape coil correctly.
Prepping the Coil: Soaking the Cotton
- Remove the coil from the packaging and inspect it for any damage.
- Apply a few drops of e-liquid directly onto the cotton wick located inside the coil. Make sure to soak it well, but don’t over-saturate it.
- Let the coil sit for approximately 5-10 minutes to ensure thorough saturation.
Installing the Coil and Filling the Tank
- Screw the coil back into the tank.
- Fill the tank with your chosen e-liquid, ensuring not to overfill to prevent leaks.
- Secure the tank back onto your device and allow it to sit for a few minutes to ensure the wick absorbes any remaining liquid.
Testing the Setup with Primer Puffs
- Take several primer puffs without firing the device. This will draw e-liquid into the coil and help saturate it more fully.
- After a few primer puffs, you can safely fire the device at a low wattage to check your setup.
- If everything looks good, gradually increase the wattage to your preferred setting.
Advanced Techniques for Coil Priming
For those looking to enhance their vaping experience further, here are some advanced techniques to consider when priming coils.
How to Prime Different Coil Types
Different coils may require specific priming techniques. For example, mesh coils often need more time for saturation due to their larger surface areas, while standard coils might absorb liquid quicker. Always refer to the manufacturer’s instructions for the best results, as coil designs can vary significantly.
Optimization Tips for Enhanced Flavour
- Experiment with Wattage: Start low and gradually increase wattage to find the sweet spot for optimal flavour.
- Check for Dry Hits: If you notice a burnt taste, lower your wattage and allow more time for the coil to absorb.
- Rotate Flavours: Allow coils time to rest between different e-liquid flavours to prevent cross-contamination of tastes.
Understanding Vape Wattage and Its Effect on Priming
Knowing the correct wattage settings for your coil can greatly influence your vaping experience. Each coil has a recommended wattage range, and exceeding this can lead to burning the cotton wick or producing an unpleasant taste. Always begin your priming process at a lower wattage, gradually increasing to find the sweet spot.
Future Trends in Vaping and Coil Technology
The vaping industry is rapidly evolving, with new technologies and innovations on the horizon that promise to enhance the user experience significantly. Here are a few trends to keep an eye on.
Innovations in Coil Design and Materials
As manufacturers continue to experiment with materials, we are likely to see more advancements in coil designs that optimise flavour and vapour production while minimising the risk of burning. Look for coils featuring advanced wicking technologies and hybrid materials in the near future.
The Rise of Smart Vaping Devices
Smart vaping devices that monitor usage patterns, liquid levels, and even notify users when to change coils are becoming more prevalent. These innovations can take the guesswork out of vaping, making it more user-friendly and enjoyable.
Predictions for the Vaping Industry in 2026
As regulations evolve and public perception shifts, the vaping industry is set to witness significant changes. Expect more emphasis on sustainability and eco-friendly products, alongside a growing market for personalized vaping experiences catered to individual preferences.
How long should you let a vape coil prime?
Typically, letting a vape coil prime for 5–10 minutes is sufficient. This allows the cotton wick to fully saturate, ensuring a smooth vaping experience.
How to make a vape coil unburnt?
To avoid burning a coil, always prime it properly before use, and avoid exceeding the recommended wattage. Regular maintenance and timely replacement of coils will also help maintain optimal performance.
Will one dry hit ruin a coil?
A dry hit can damage your coil, leading to reduced lifespan and performance. If you experience a dry hit, it’s advisable to re-prime the coil before continuing to use it.
How to fix a vape that won't light up?
If your vape isn’t lighting up, check the battery level, ensure the connections are secure, and confirm that the coil is properly installed. A malfunctioning battery or faulty coil could also be the issue.
What are the signs your coil needs replacing?
Indicators that your coil needs replacing include burnt taste, reduced vapour production, and a harsh throat hit. Regular inspections and timely replacements will help maintain a pleasurable vaping experience.